Bringing your Navisworks Clashes into VR as Prospect "Viewpoints" is a great way to structure and organize a coordination meeting to get the most out of VR. For a quick walk-through of this process see steps below.
Steps to Create Clash Viewpoints
|
1. To start, open Clash Detective in Navisworks. This can be found by going to Home > Tools > Clash Detective in the ribbon. |
2. Next, select the "Add Test" button in the top right corner if none have been created. |
3. In the "Select" tab, choose a Selection A and a Selection B to run clash detection against and select "Run Test" button.
4. This should take you to the "Results" tab where you'll be able to view your clashes. Make sure Viewpoint is set to Auto-update in the display settings to the right so that any manual changes you make to the clash viewpoints are saved.
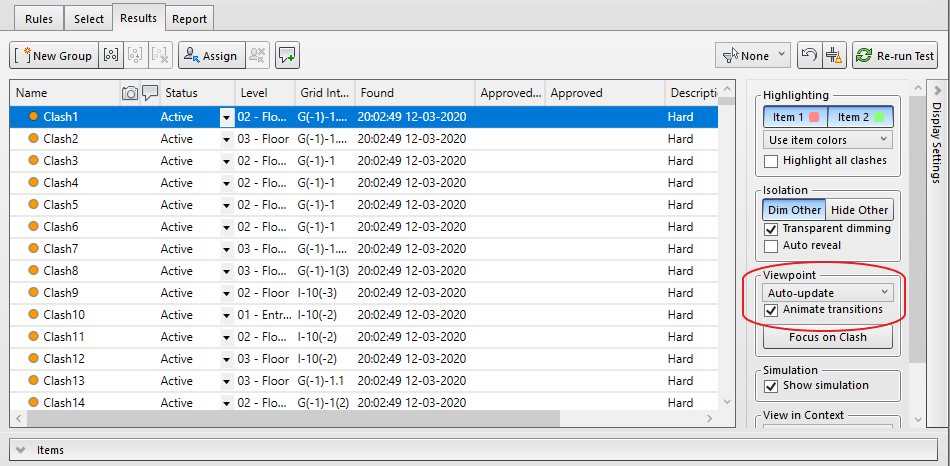
5. When manually optimizing your clash viewpoints, make sure to navigate to a viewing angle that will make sense in VR. You may still need to "hide" a floor or ceiling once in your headset, but you'll want to avoid creating viewpoints that are heavily obstructed by hidden or dimmed geometry. Toggling the "Hide Other" button during this process can help determine if you've set a good view or if the clash will be heavily obstructed.
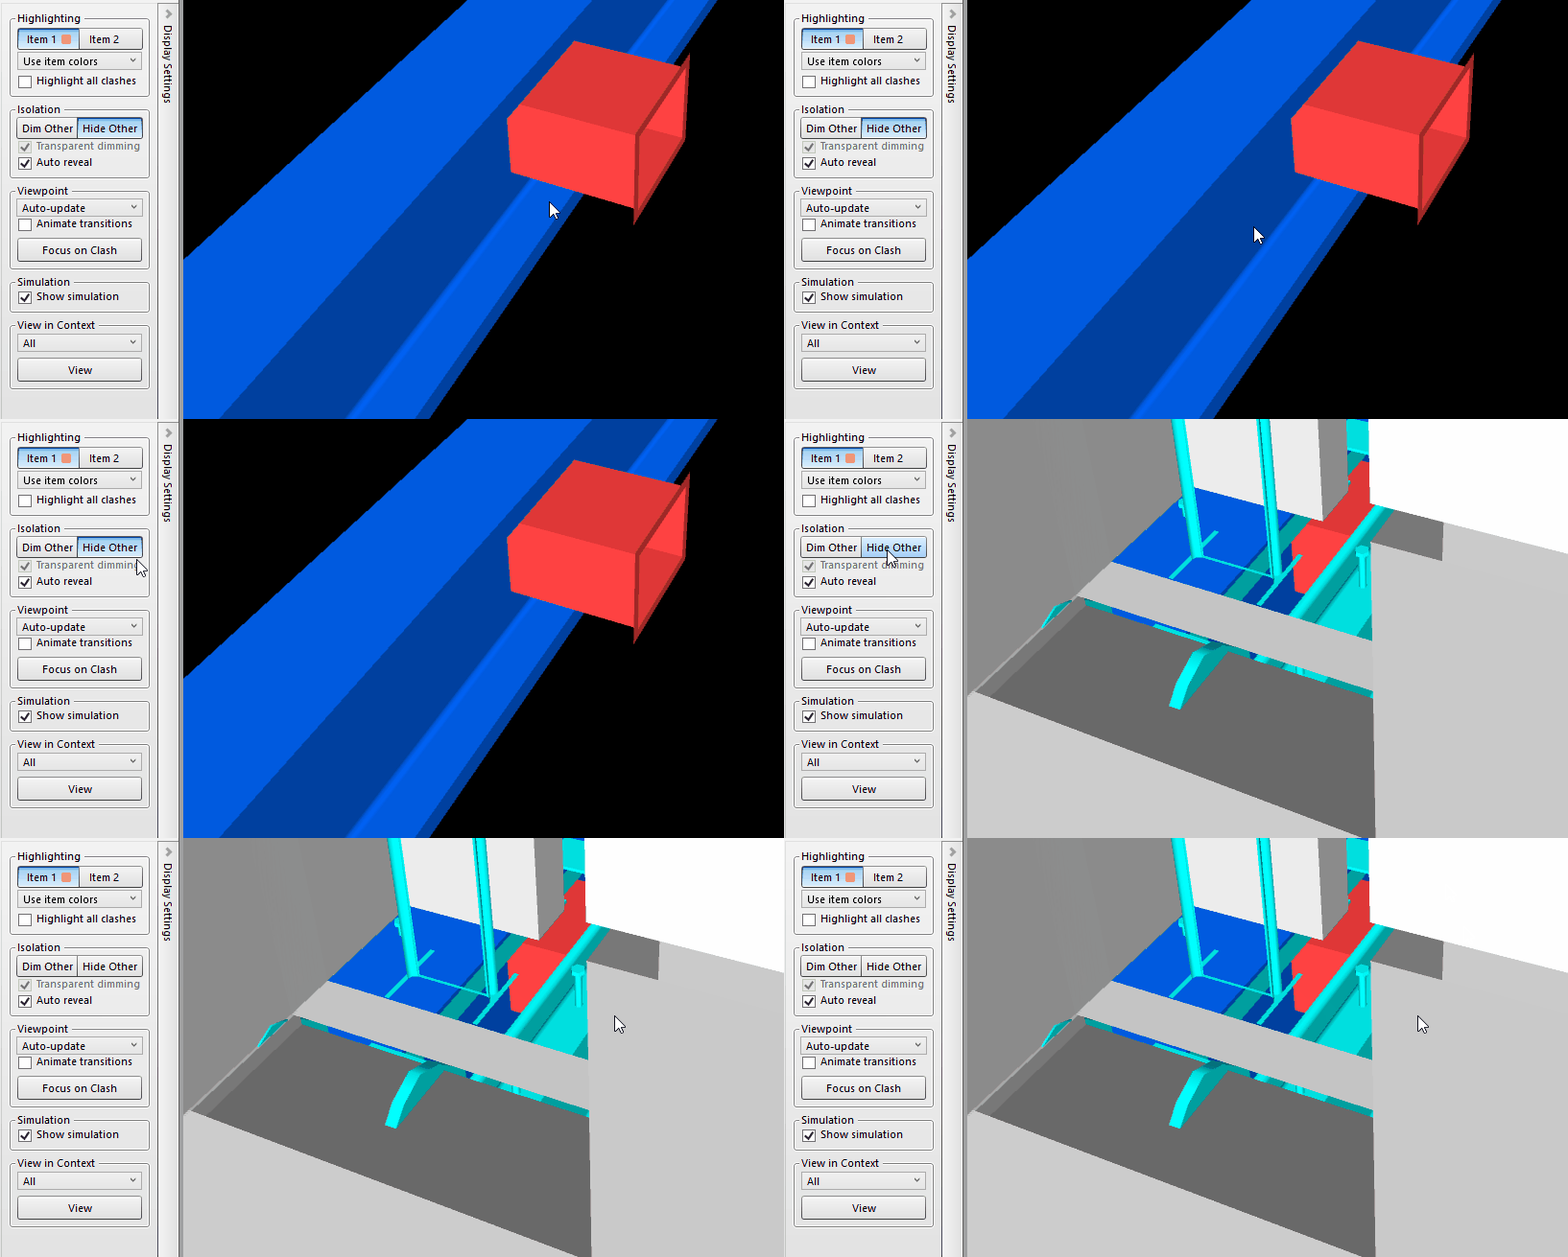
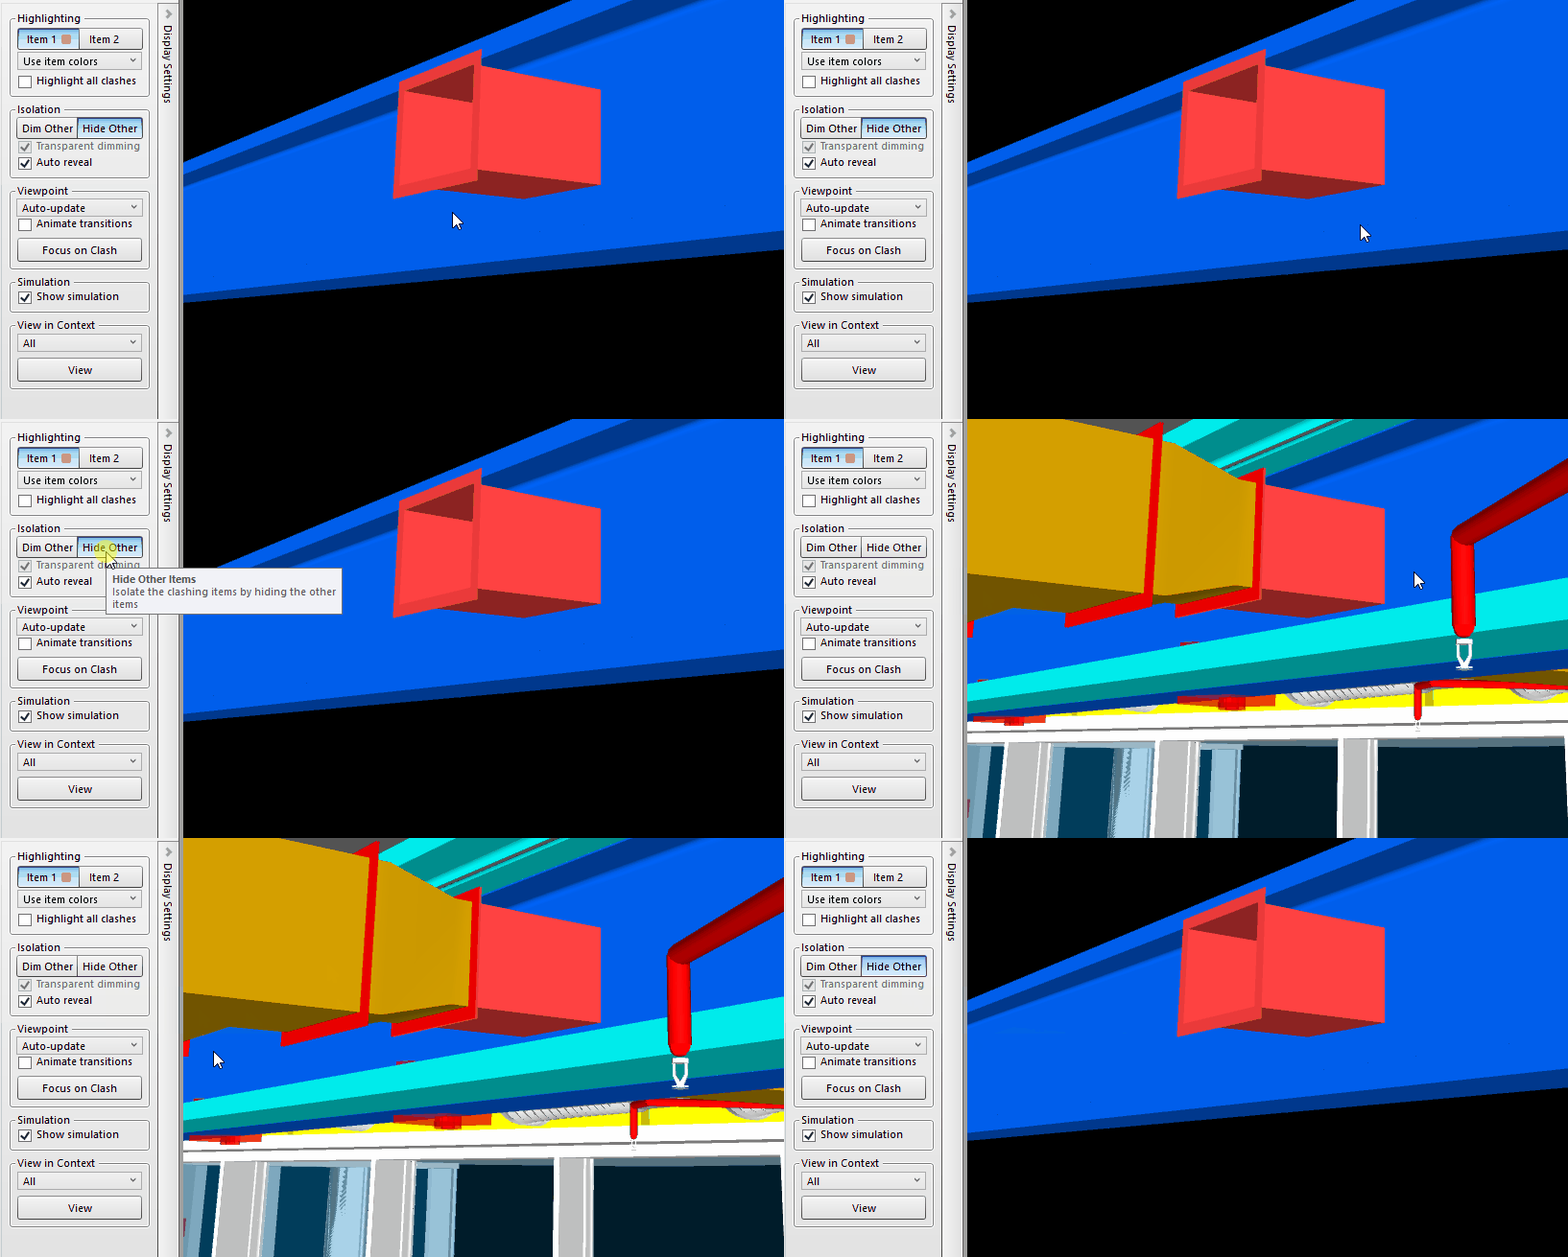
The two images below are examples of the exact same clash but just viewed at different angles. Note that the "obstructed" viewpoint is very difficult to see once "Hide Other" [geometry] is toggled off.
|
Obstructed clash viewpoint 🚫 |
 |
|
Unobstructed clash viewpoint ✅ |
 |
6. Next, after reviewing the clash viewpoints, navigate to the "Report" tab and look to the bottom under Output Settings to make sure it lists "As Viewpoints" as the Report Format.
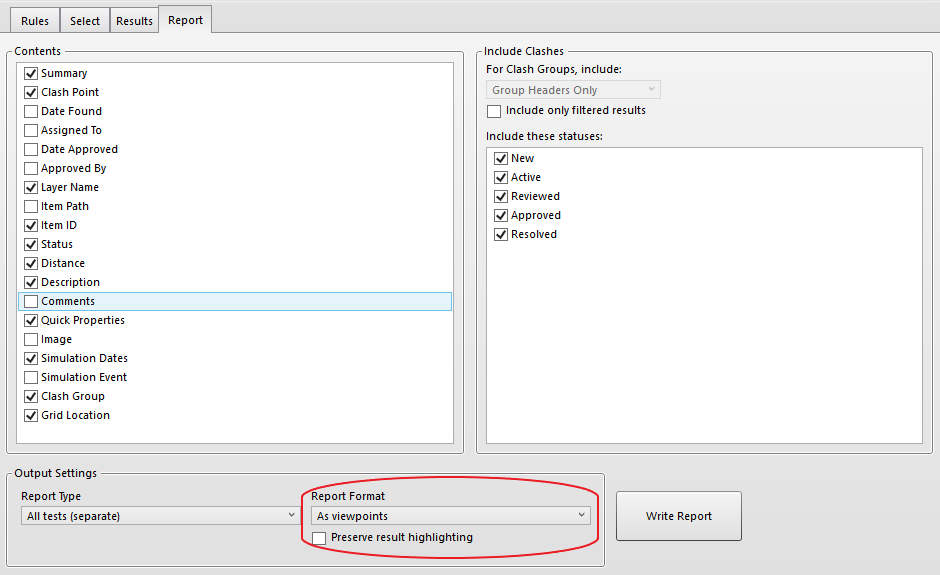
7. Then simply click "Write Report" and the clashes from the Test will be logged in Navisworks as Saved Viewpoints. You can run multiple tests at the same time and you can also break your clashes into groups as well. Note that if you update any of your clash views after you "Write Report" you'll need to run the report again, however.
8. To access these clash viewpoints in Prospect, make sure to check the desired boxes upon export.
9. Lastly, once in Prospect simply navigate to the "Viewpoints" tool to view your clashes!
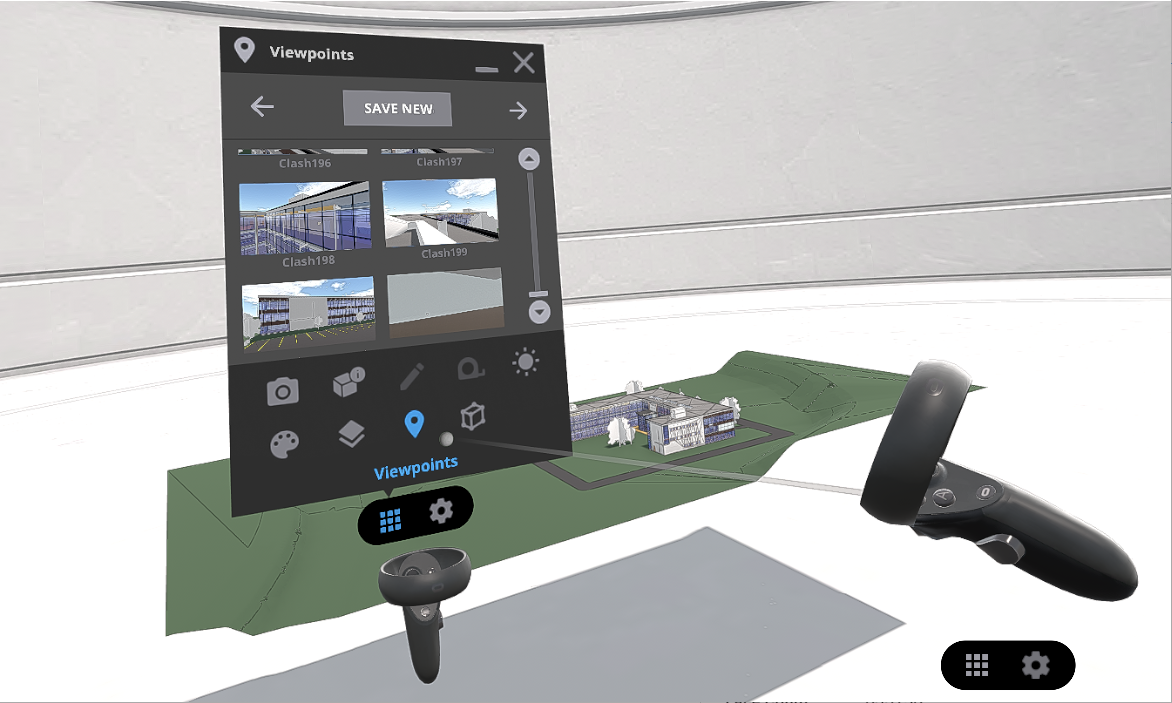
For more details on how to delete, rename, and reorder Viewpoints you can view our article here.
For more information on Coordination Meetings in Prospect you can view our blog post here.
Have more questions? Submit a request