Navisworks files can be deceptively large, even when file size doesn't indicate it. This is due to Navisworks implementing a number of tricks for compressing and storing geometry when saving a file, that cannot currently be applied when creating a 3D scene for virtual reality.
If your files are over 100 MB, OR you intend on using an Oculus Quest*, we recommend hiding fragments, as well as using the Selection Tree, Section box, and Properties as shown below.
To start, hide any excessive geometric fragments where possible
Do this by:
- Go to Home > Selection Tree > Properties > Geometry > Fragments.
- Under Fragments, search for geometry with a count of 1000 or greater, highlight them, then right-click to Hide.
Why this helps: Navisworks Fragments are pieces of appended 3D geometry that can be particularly strenuous on processing and rendering if highly fragmented, e.g., 2,000 versus 200.
Image: How to identify and hide fragments within Navis model
Next, eliminate unnecessary geometry
Everything you have modeled within your file may not be needed in VR; decide what is important to see and hide the rest.
Do this by:
- Going to the Selection Tree
- Select and right-click to Hide, look for:
- repeated elements such as rebars, nuts, bolts, etc
- elements modeled in great detail, such as vendor-provided 3D assets
- elements that are transparent (they require more power to render)
- nice-to-have features, such as trees or furniture
- You can utilize Navisworks Selection and Search Sets to group these items, making hiding easier
Why this helps: Reducing extra geometry is the fastest and easiest way to improve the VR experience without compromising information shared.
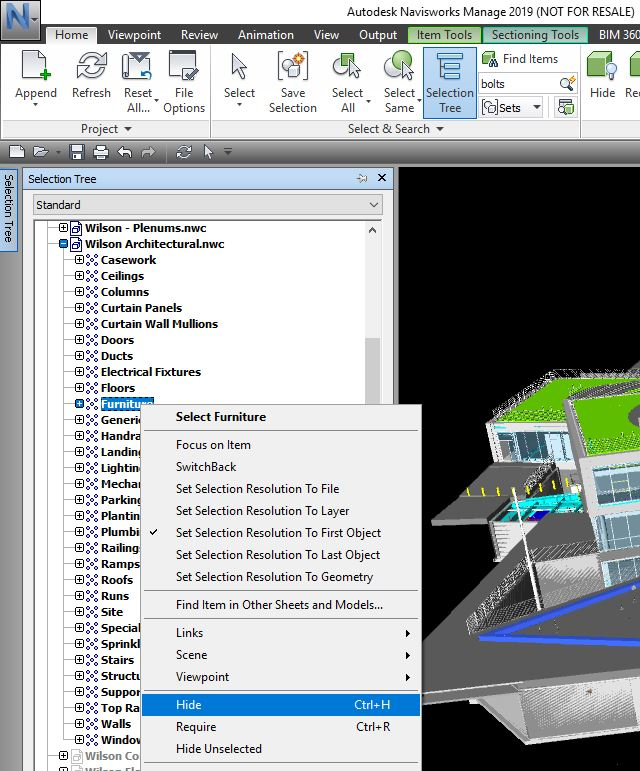
Image: Reduce extra geometry by hiding it
Image: Use Navisworks Sets to make hiding more efficient
Then, define the geometric bounds
By default the bounds of your model are it's full extends, you'll want to edit this to be just the area you are reviewing.
Do this by:
- Go to Sectioning Tools, click Enable Sectioning
- Push & pull bounding box to the desired area
Why this helps: The section box will increase in-VR performance and load your file from the Prospect library faster, but the conversion directly from Navis to Prospect will remain the same.
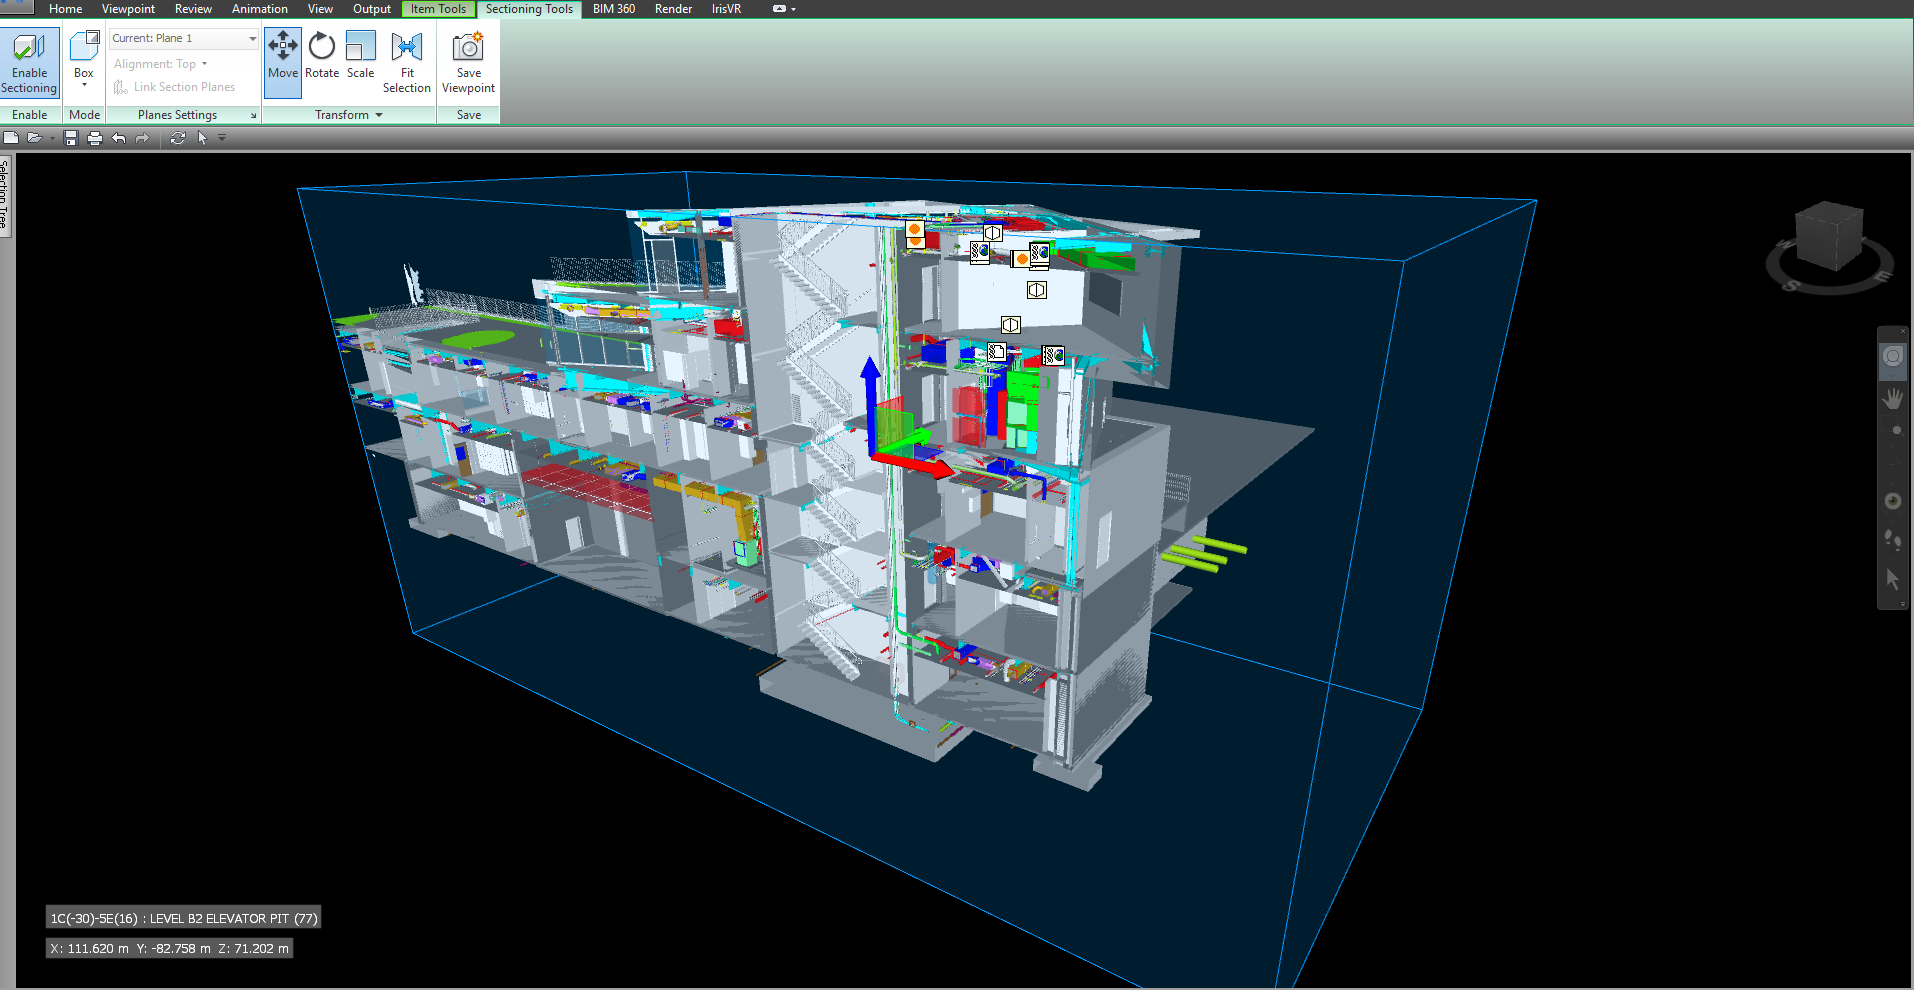
Image: BEFORE adjusting the Section Box
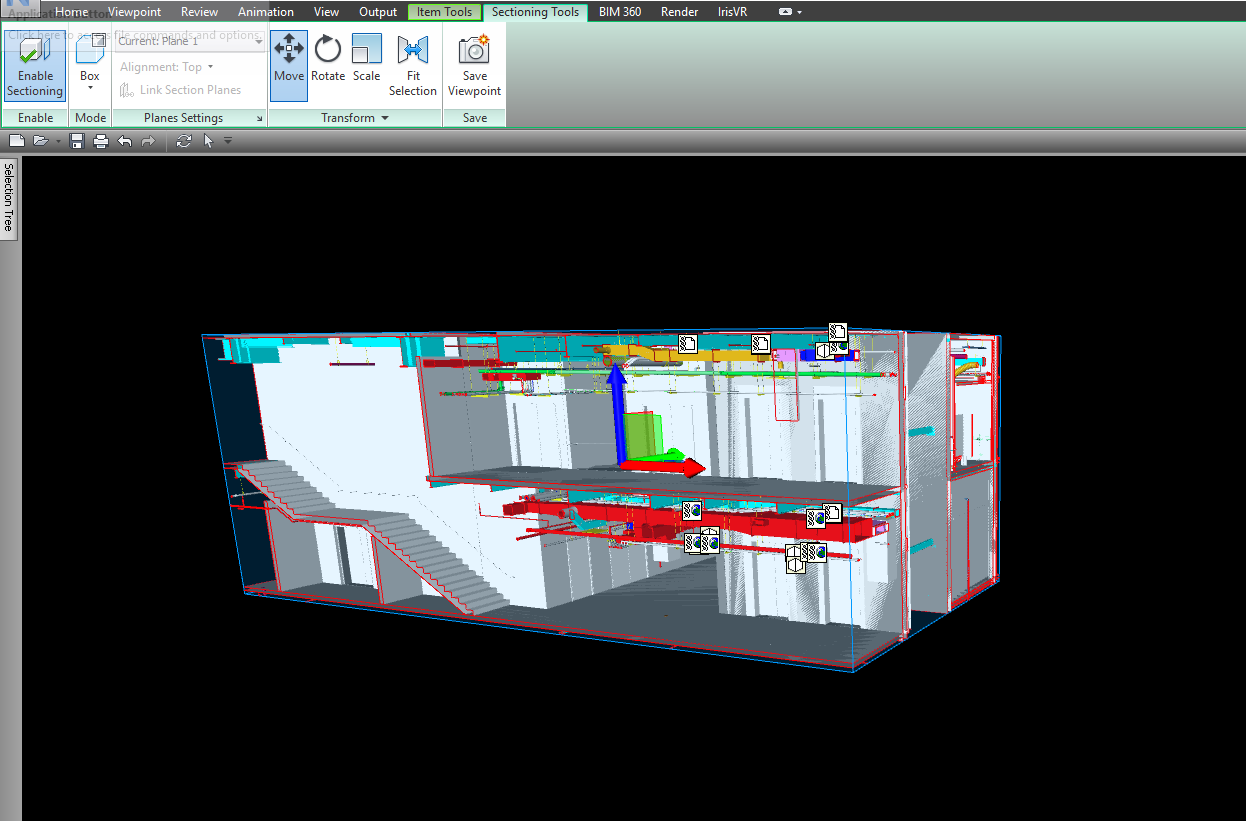
Image: AFTER adjusting the Section Box
And isolate specific areas only
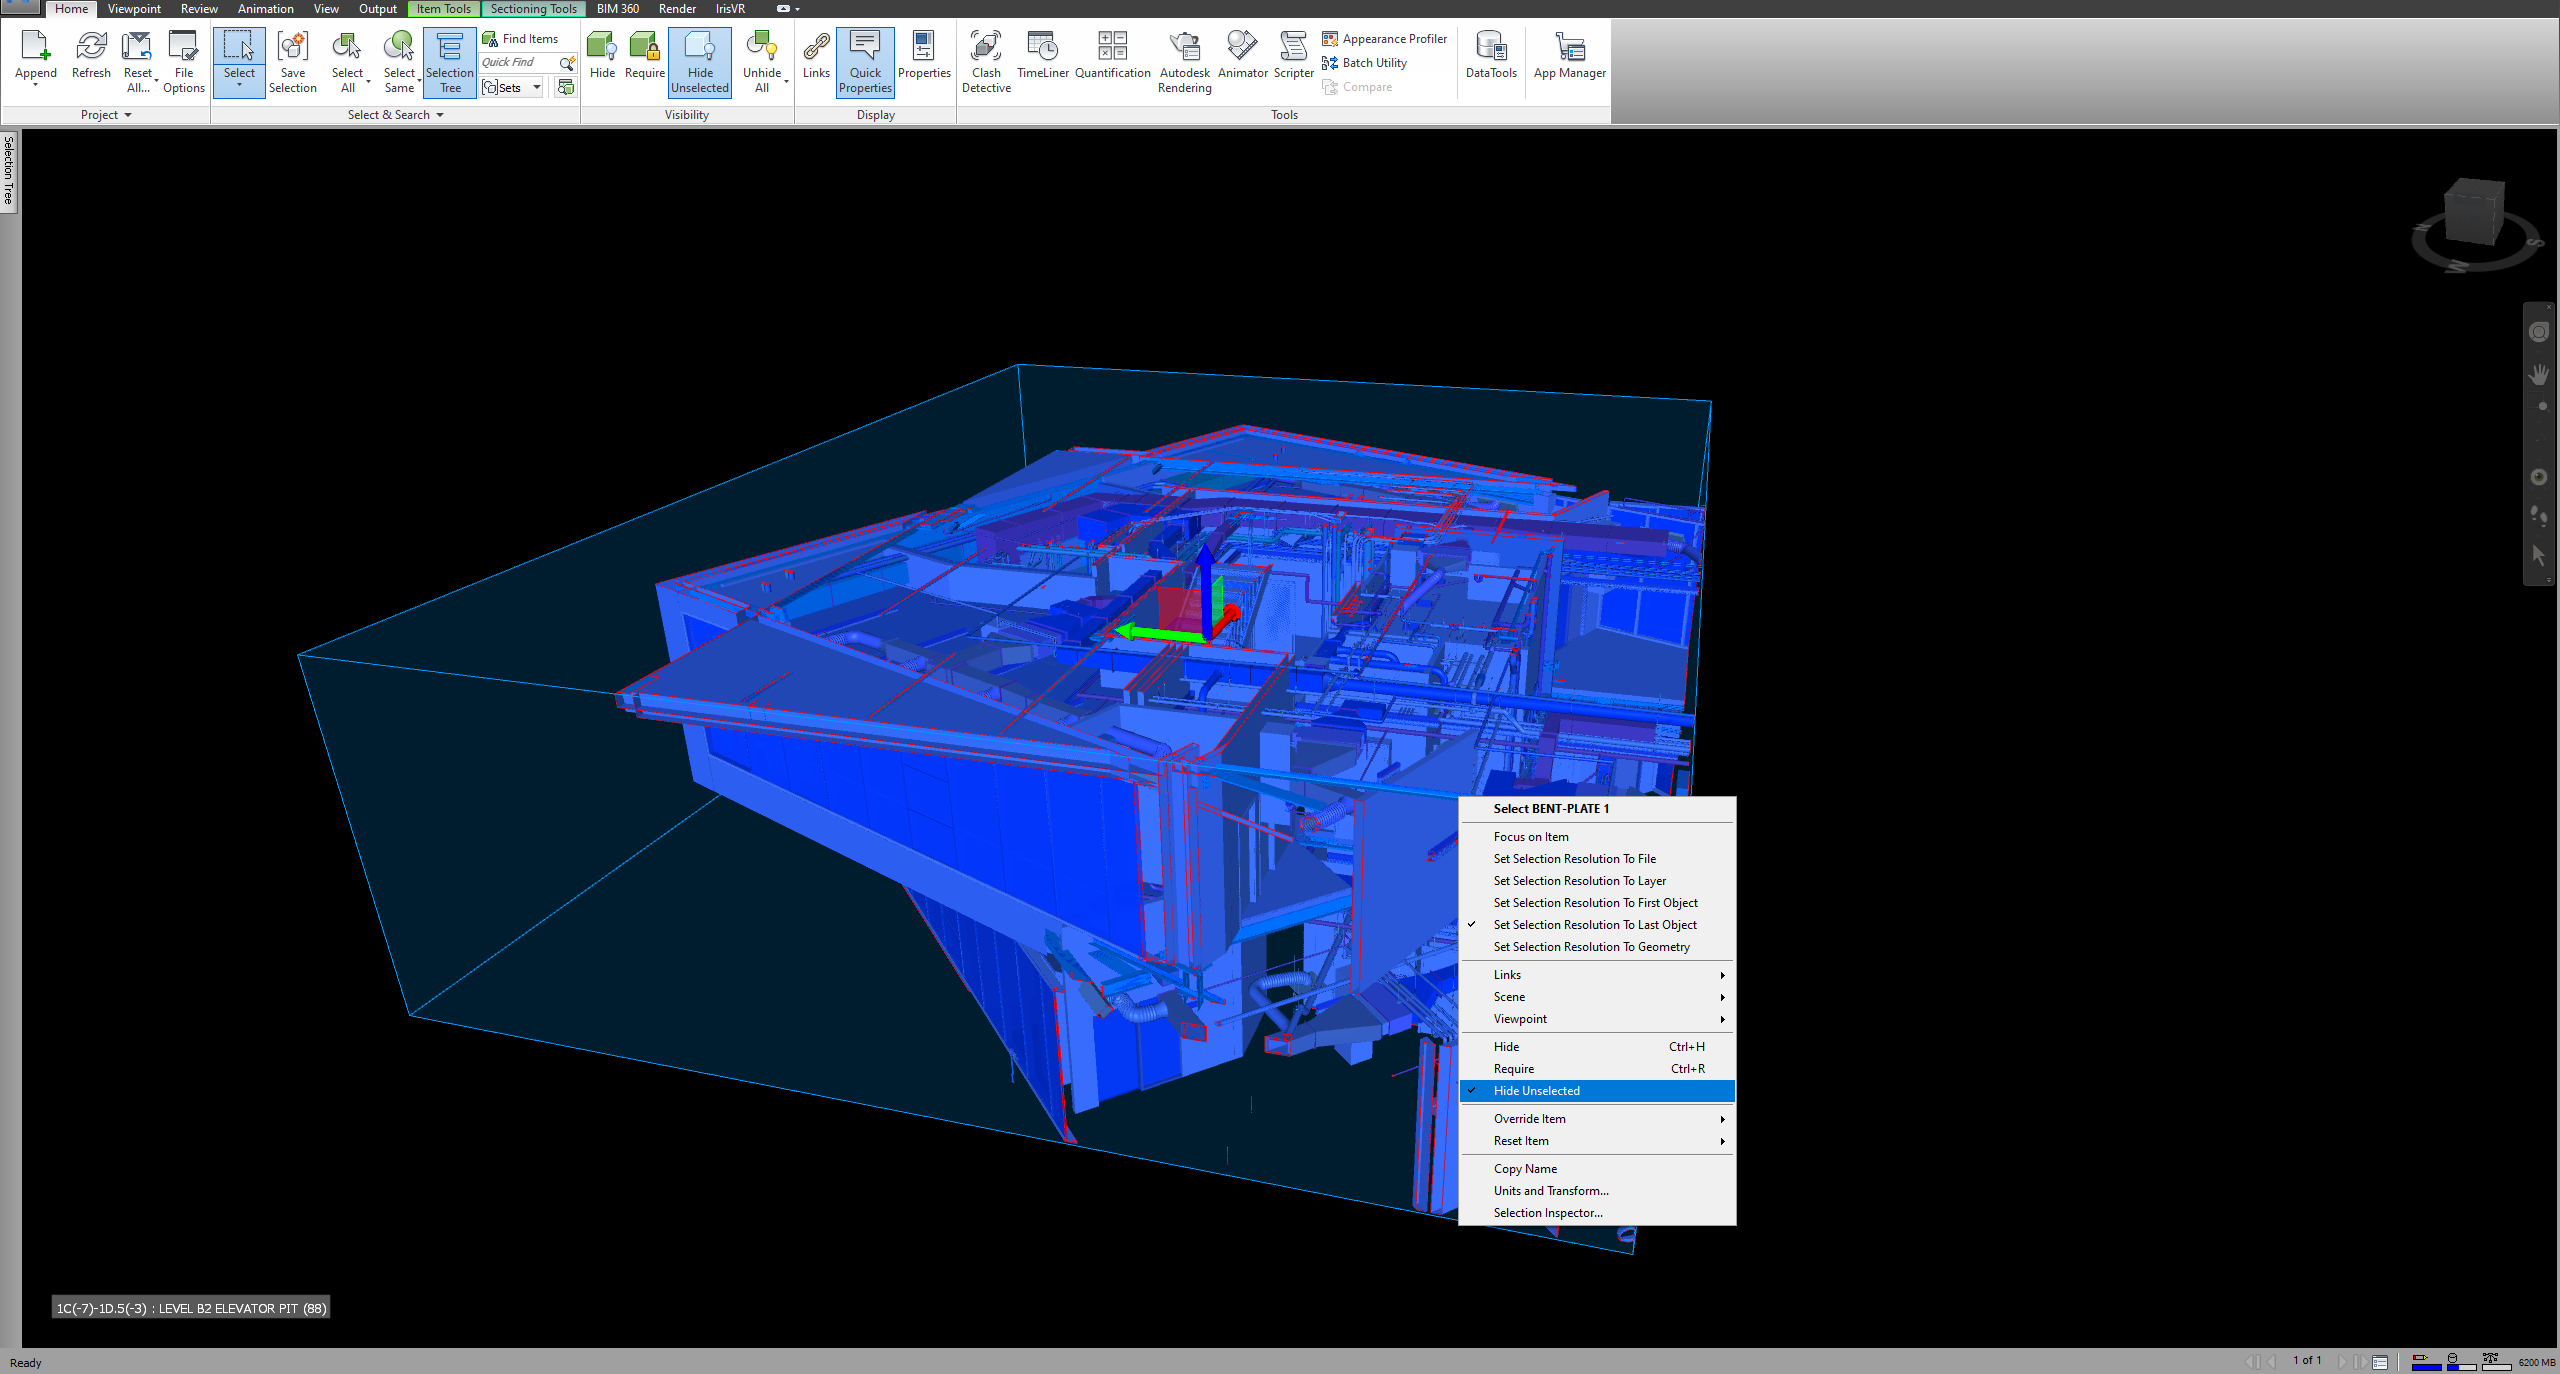
After establishing your section box, take one step further to hide any unselected geometry.
Do this by:
- Hold the space bar while click-hold-pulling across from left to right, this selects all the geometry that falls within the window (in blue)
- Right-click and pick "Hide Unselected"
Why this helps: This will speed up the export process. Plus, you can bring in large areas without the full model which will improve performance and create focus areas during VR coordination meetings.
Image: Section box + selected geometry
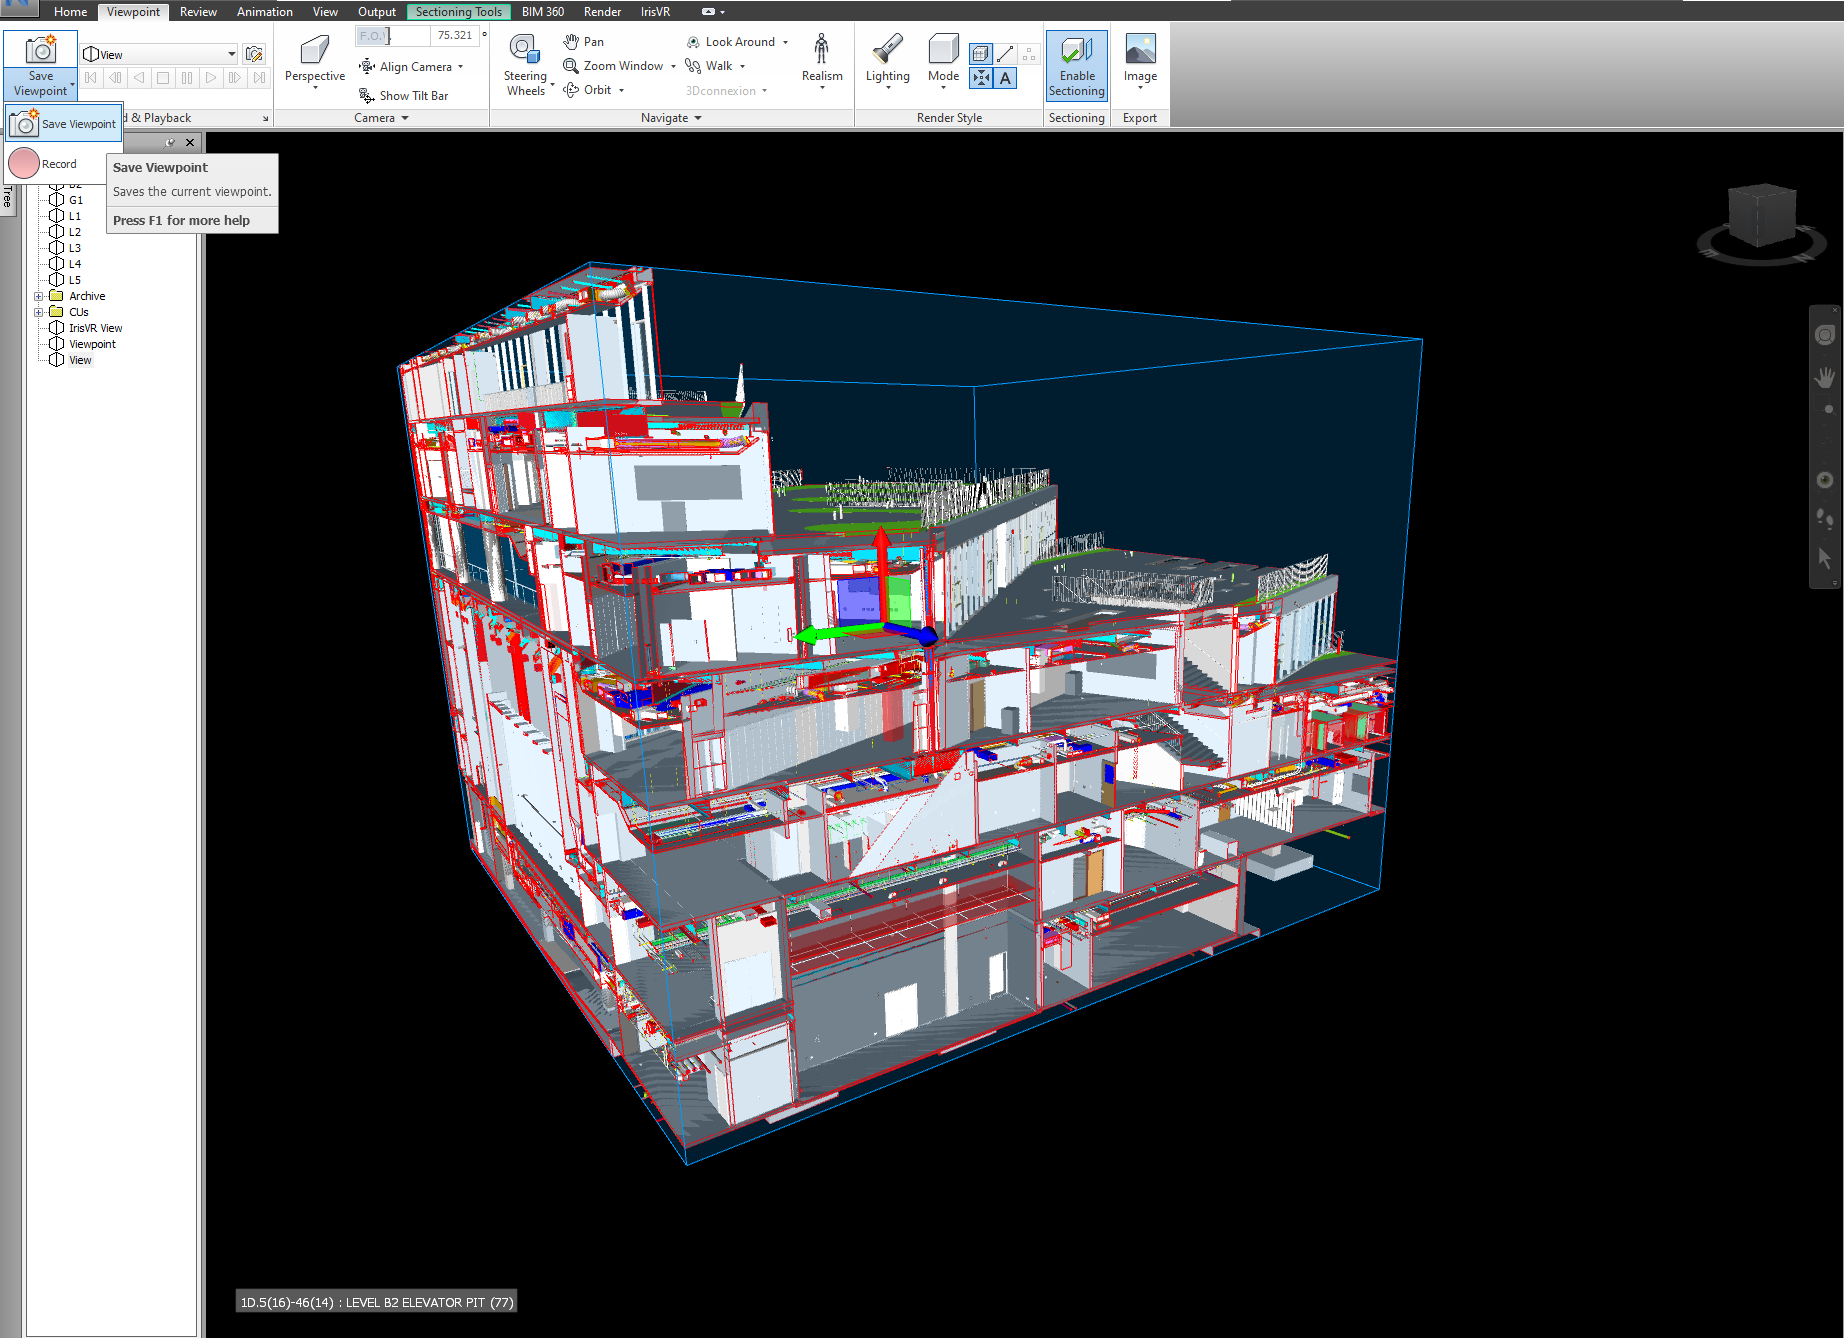
Save your Viewpoint
Do this by:
- Click on Viewpoint > Save Viewpoint
- Name your viewpoint, for example, "Prospect View 1"
Why this helps: This will save the changes you've made to your file as a state and save you from repeating these steps.
Image: Saving a Viewpoint
Last, leverage Prospect's settings
Navis files are rich with information, but they may not be relevant to you and Prospect has a feature to help you customize what is brought into VR.
Do this by:
- Click "View in VR"
- If you wish to customize the configuration, allow Properties to load
- Once the Properties tab is populated, browse and deselect fields that are not necessary
- For 100MB+ files this can take 10+ minutes to complete but is really beneficial to your framerate and general VR experience
- If you won't be inspecting metadata, use the toggle to turn off property collection.
- Click start processing to bring into VR
Why this helps: Reducing the overall data being imported into Prospect will enable you to import and view only fields that are useful for your design review.
Image: Select relevant properties before exporting into Prospect
Additional consideration / Still running into issues?
*For Oculus Quest Users: Standalone headsets can not handle the same size file as a desktop PC can. Follow the optimization steps above, but during the section box and/or isolation step start with the smallest possible area. Do a test launch to confirm it opens in Prospect and then gradually increase size.
For everyone: Hiding, selecting, and adjusting geometry is always the easiest way to work with existing files, but when creating new files review your geometry to identify if it could be modeled in a cleaner or simpler way.
If you've performed all the steps above and are still running into performance issues, send us a message and we can help you further by looking at your specific file.
