The Prospect Library is the hub for managing your virtual reality experiences. From here you can save, sync, export, delete, view, and change various settings per file and/or per project. You can also share files for collaboration or invite others to a VR meeting.
Using the Desktop Library
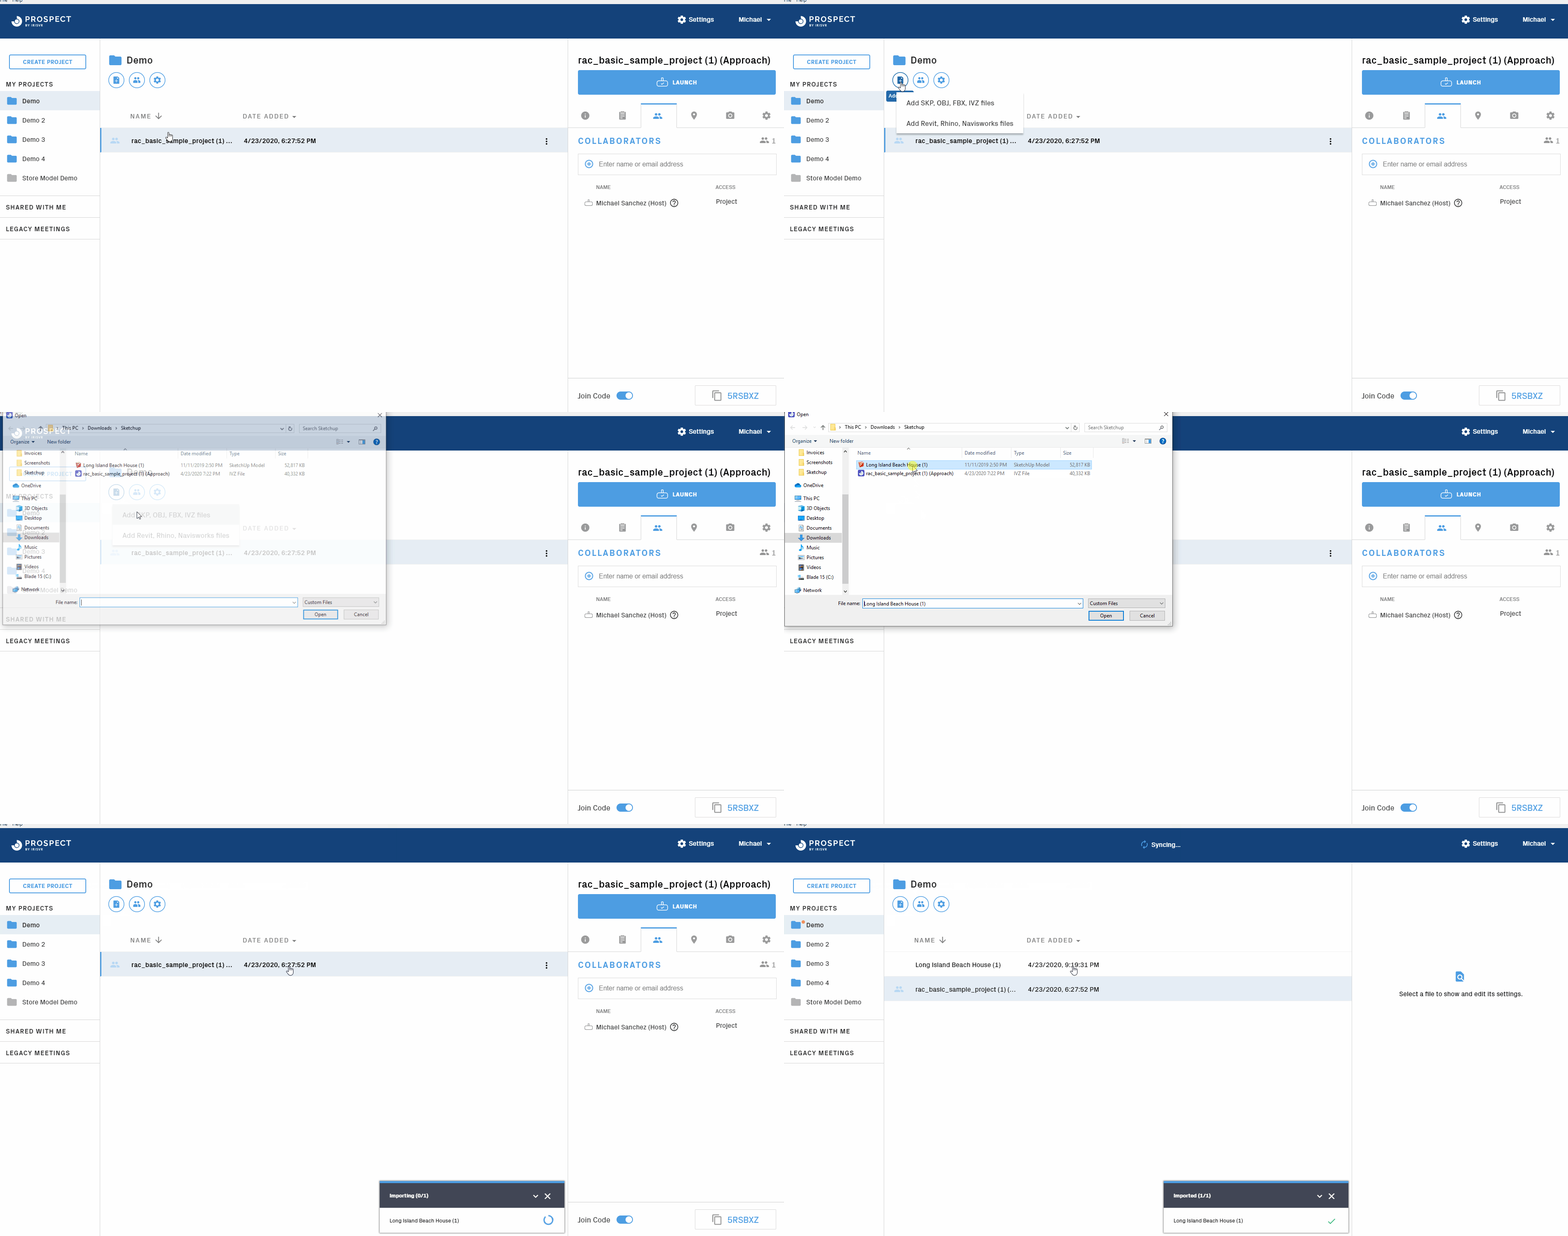
First, import your file:
- .IVZ: Double-clicking from your desktop or drag and drop
- Revit, Navisworks & Rhino: Use the plugin within the authoring software, "View in VR" to launch, see image below
- Sketchup, OBJ & FBX: Drag and drop into Prospect library
Example of a Prospect Pro Plus Library when first opened
|
Revit |
Navisworks |
|
|
|
Example of a Prospect Plug-ins
Next, launching into VR:
- After importing your file, as shown above, it will automatically begin processing and save it to your library.
- If you're saving the file into a new project, you will be prompted to sync this project by default, and then, if synced, to add Project Level collaborators. Note that any project-level collaborators will automatically gain access to any files added to the project from this point forward, and a number of features will be reliant on the project being synced. More here.)
- Click "View in VR" to launch your file into VR, or first adjust your settings in the right panel
Library Settings & Options
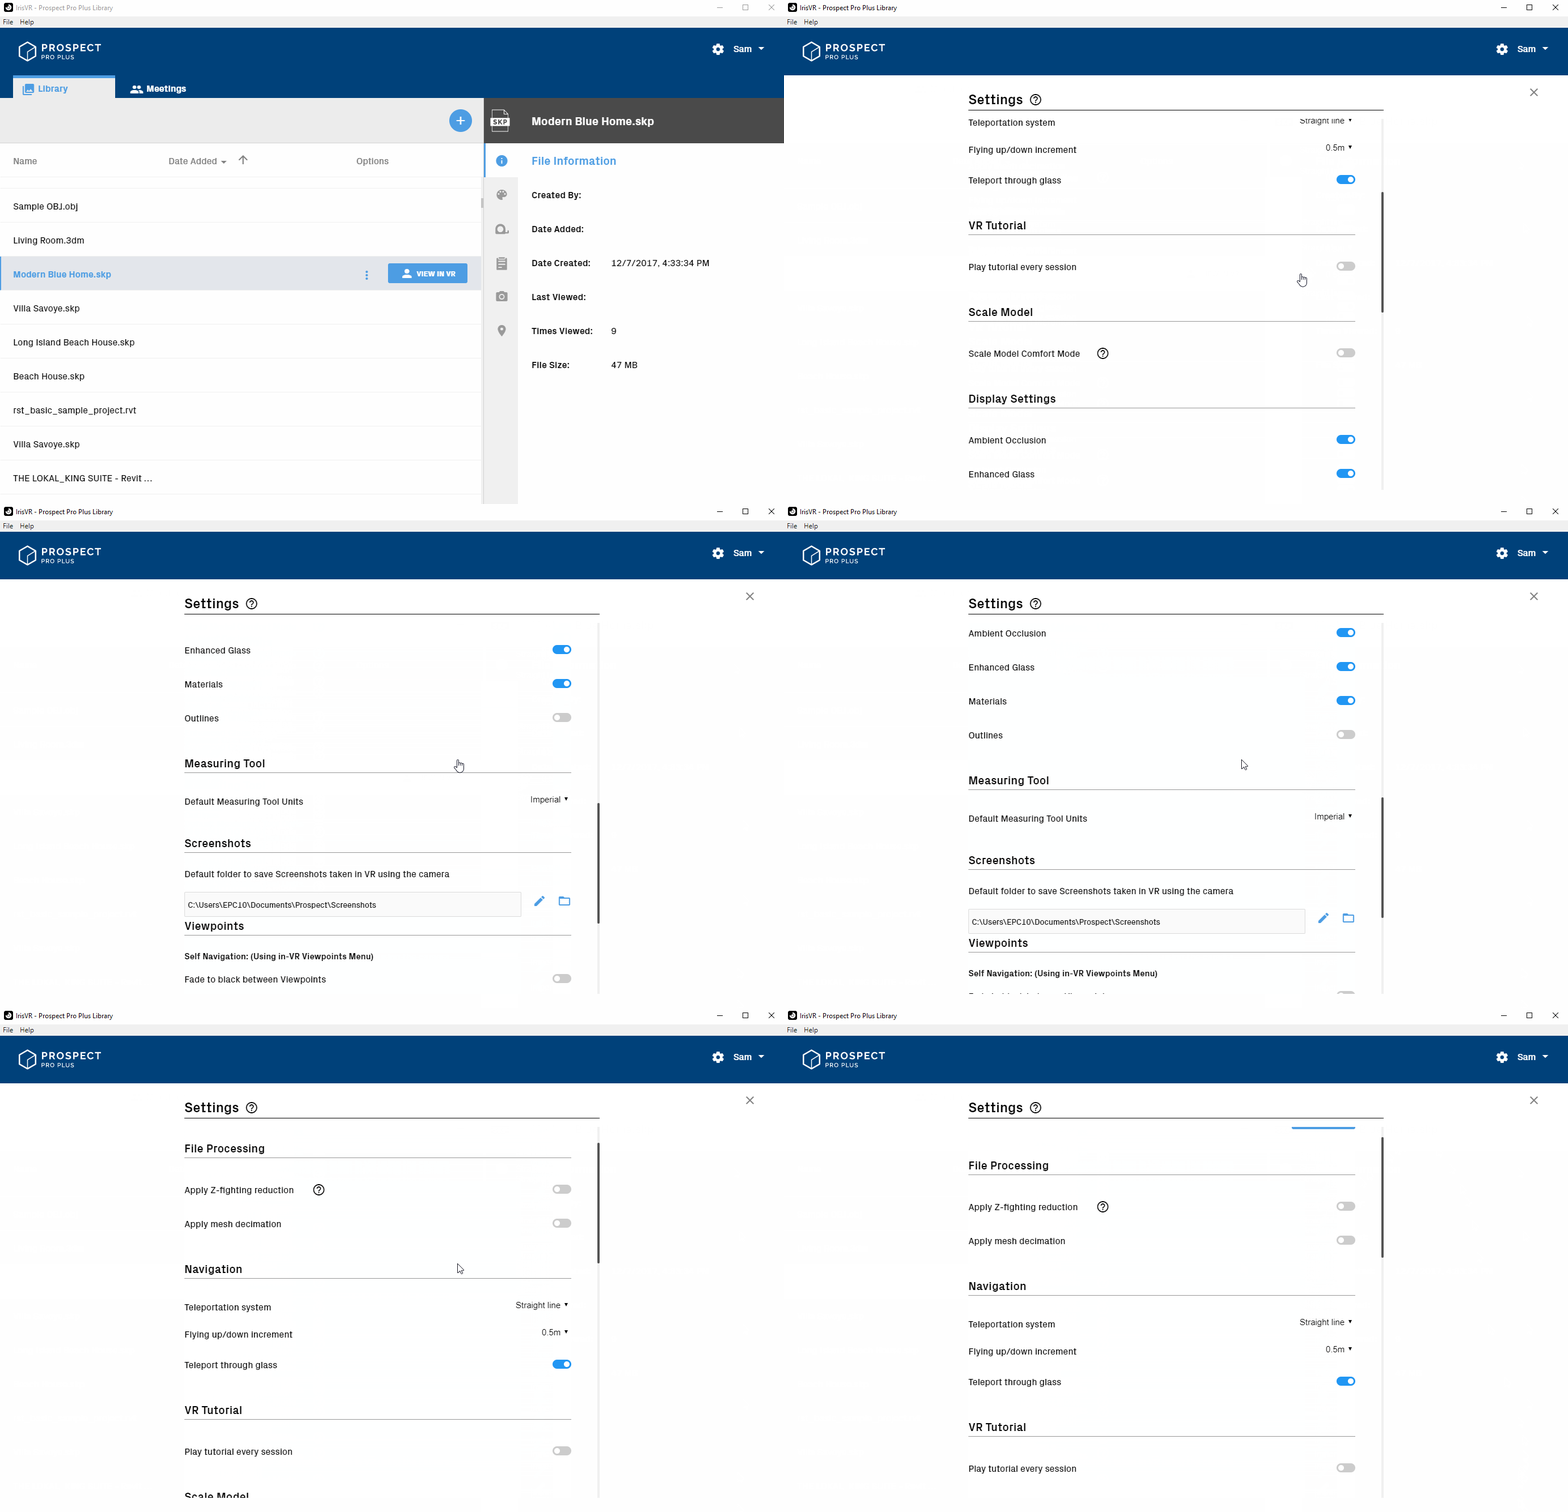
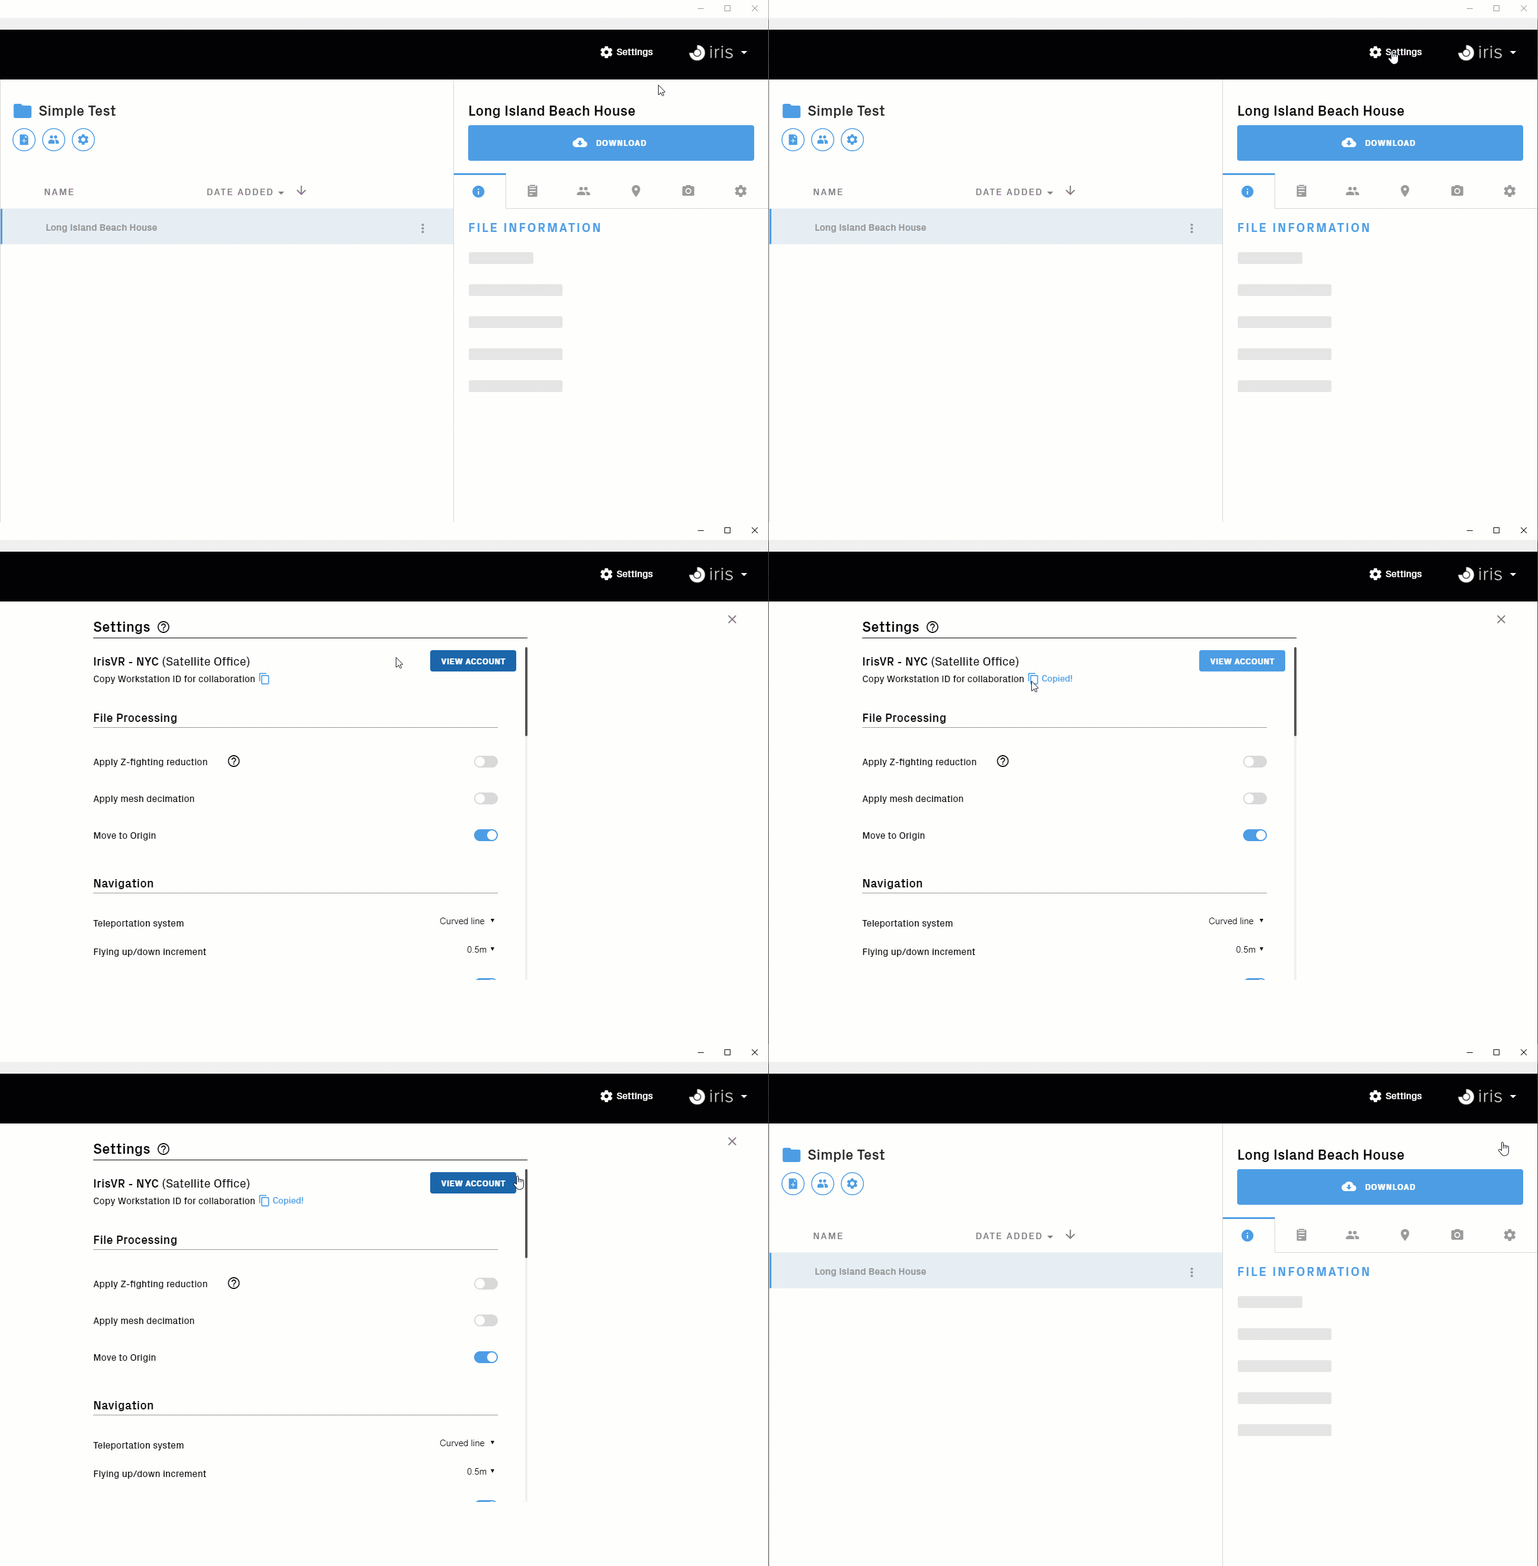
Global Settings Menu
 |
|
 |
|
File Specific Settings
When you select a file in your library, a panel on the right will open with default settings you can set for a file within a project, such as: Display Settings, Flagged Elements, Measuring tool units, Viewpoints and Screenshots. If you do not alter File settings, default global settings will apply.
When you interact with your file in Prospect by adding annotations, changing layers, sun settings, and more, those changes will persist across sessions for the specific file you have imported. This allows you to retain useful data from your VR sessions, as you can reference annotations in the future.
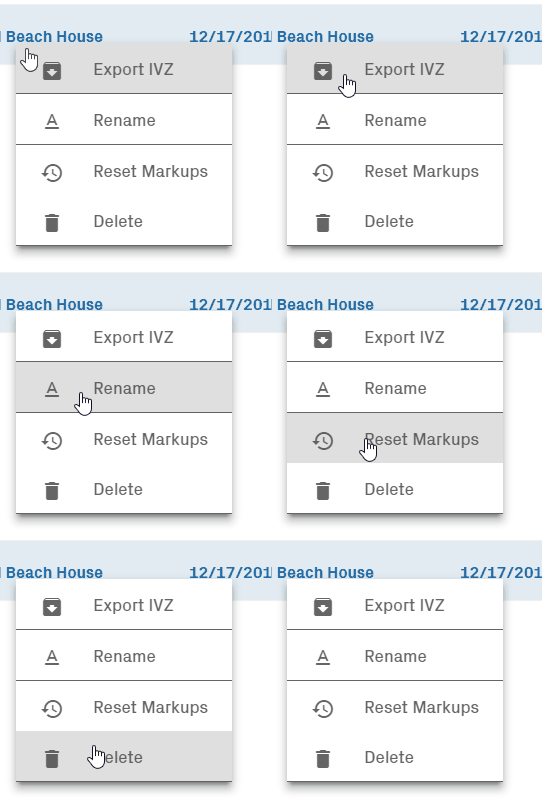
To reset markups and other in-VR settings, click the options button on the file in your library and select "Reset Markups".
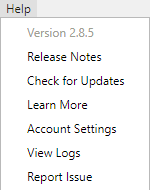
Help Menu
 |
|
Options Menu - Local, Unsynced File
 |
|
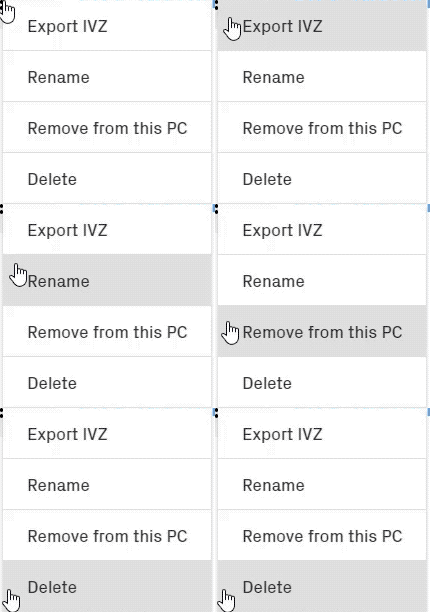
Options Menu - Collaborative/Synced File
 |
|
Scheduling Meetings & Collaborating
With Collaboration features, you’ll be able to share the same virtual experience with others and make design decisions as one unified team, regardless of your physical location. For a step-by-step overview of how to collaborate, proceed to that section here.